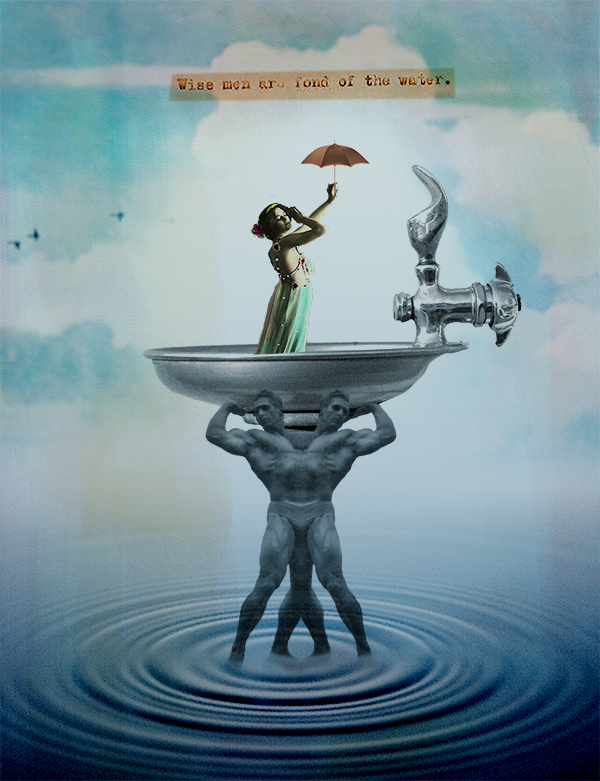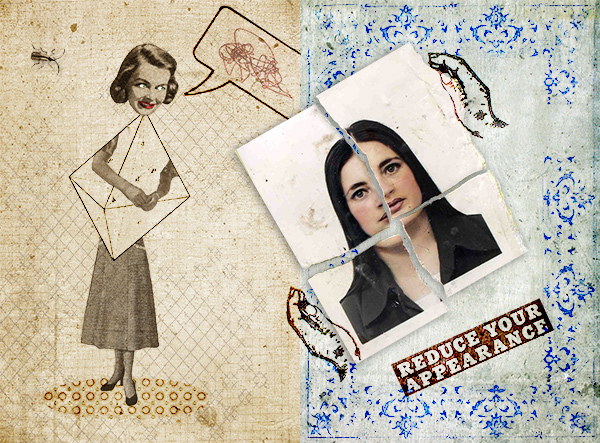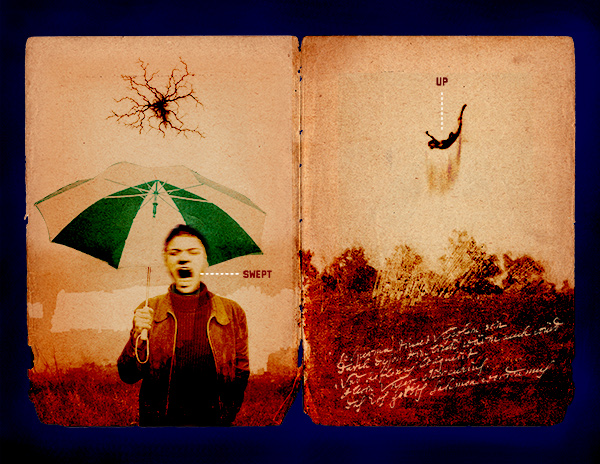
I’ve been making collages in one form or another since I was old enough to wield scissors and paste, which turned into long hours during the summer and after school stuffed into a poorly ventilated darkroom combining cut-up Kodalith sheet negatives and printing large-scale BW contact prints, which turned into Photoshop 3.0 and a Mac FX, which turned into..well faster and better “scissors and paste” and a permanent “buh bye” to smelly rooms full of chemicals.
There is something magical about the process of starting with a collection of unrelated images and seeing hidden relationships appear— a hundred tiny acts of discovery..
The medium of collage is a huge part of the message and for me serious serious fun. So in keeping with the purpose of this site; if I do it, I’m happy to share it.
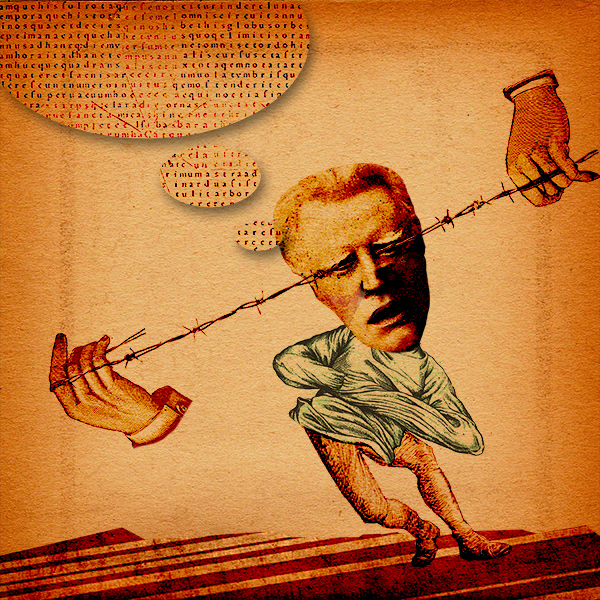
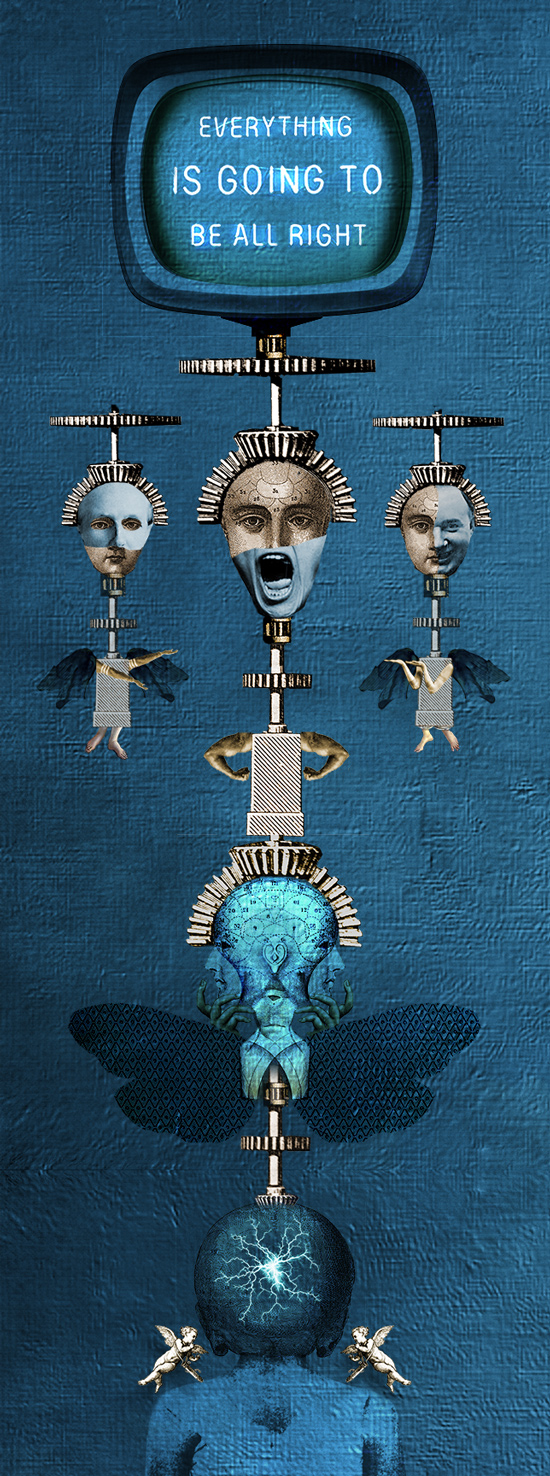
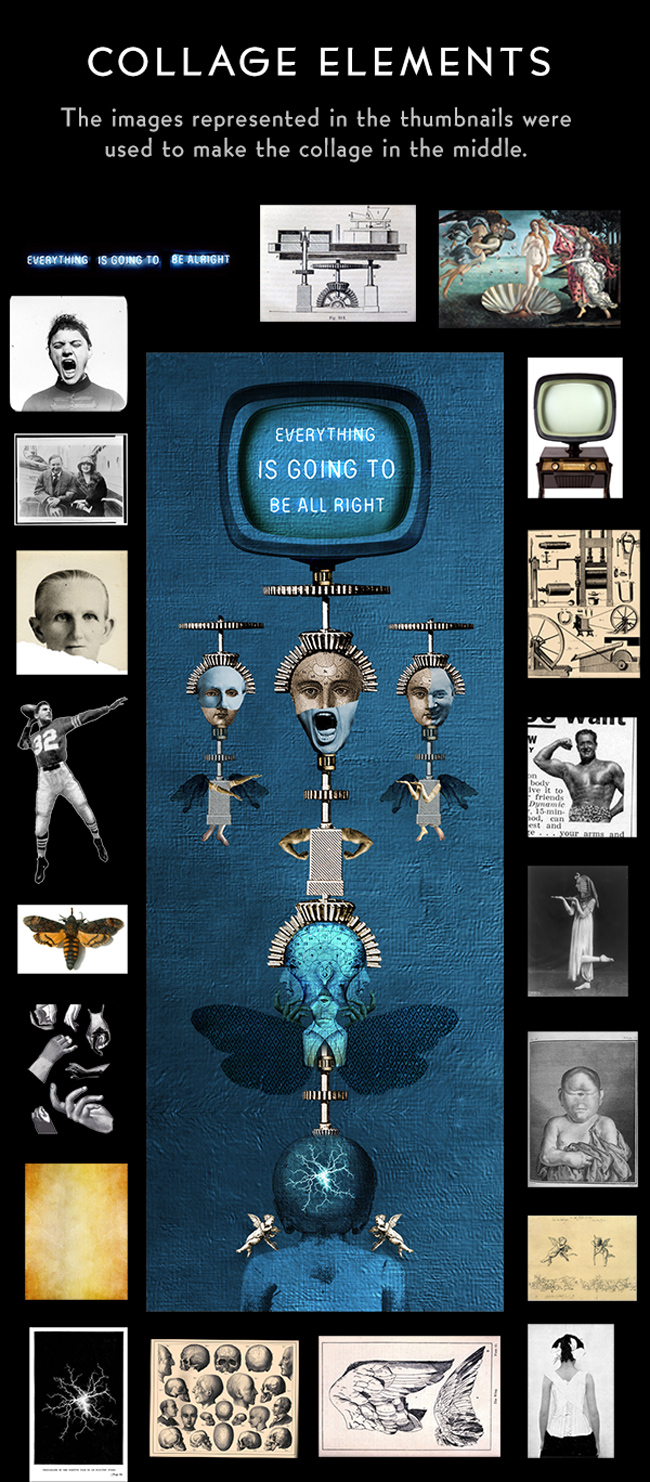
Here’s the finished piece I’ll be using as a case study. It’s called “Autodidact”, which means self-taught (news to me). The collage began as a much smaller piece, inspired by “Brazil”, the Terry Gilliam opus and grew in complexity as I thought about how many influencers and levels of inspiration actually contribute to our “self-teaching” as we grow and mature. Anyway…
Photoshop allows the artist to assemble a collage in pretty much real time with a few basic skills, a scanner and/or some image files that already exist on your hard drive. While this tutorial is really aimed at the intermediate Photoshop user, anyone familiar with PS basics can make interesting and satisfying work while keeping the learning curve frustration to a minimum. We hope.
My collage subjects have always tended to be a bit on the dark side. Heavily influenced by Bosch, Magritte, Dali, Uelsmann and dare I say it, Monty Python in my formative years it’s no wonder, but with collage, the sky is literally the limit. If you’re drawn to unicorns and daisies, go for it!
So in lieu of an Xacto knife or scissors, digital collage requires only a mouse and a lasso tool. The Photoshop layers palette contains all the bits and pieces you would have carefully cut out and readied to glue on to some sort of background—so we’ll start there. But first, here’s what you’ll need:
- A copy of Adobe Photoshop 4.0 or above or Photoshop Elements.
- A flatbed scanner or scanner app to convert hard copy (real paper) source files and ephemera (items of collectible memorabilia) to digital files.
- Hard copy or digital ephemera or source files.
- A sketchbook, pencil and eraser.
- An hyperactive imagination tempered with a sense of restraint.
Step 1: Create your canvas (background) .PSD file
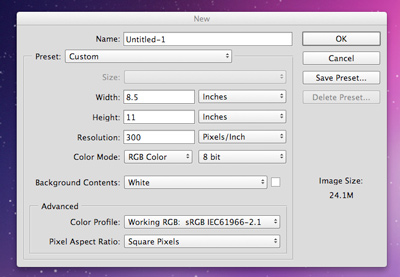
First, decide what the output medium and final size (dimensionally) will be; print or web or both? if you ever want to be able to print your work, set up your base file at 150-300 dpi. It means your .psd may be pretty beefy by the time you’re finished, but worth it to ensure decent print quality. If you only want to display your work on a website or blog, create the base file at 72 dpi, it’ll make the whole process faster by not hogging as much bandwidth.
Rule of Thumb: when working with bitmapped (pixel-based) files, you can always “Save As” lo-res files from hi-res files, but not the other way around without severe quality loss. Hedge your bets by starting off at 300 dpi if you even remotely think you might print out your work at some point.
Step 2: Gather your source material
This is probably the step with the most wiggle room. There are so many ways collages come together; sometimes an interesting relationship happens between two or three objects, or you may have an entire narrative in mind which then becomes about locating the right imagery.
I often start with a concept or theme in mind, then scour my ephemera and photography folders for likely collage candidates. I’ve been collecting “scrap” from old magazines, found art, discarded photos, parts of old manuals and postcards for years, so I have a lot to choose from on my hard drive. Antique stores, flea markets and second hand stores are great sources for old print material, magazines, manuals, postcards and discarded scrap books full of photos. Sites like Retronaut or Time Tales are great places to start to downloading copyright free material.
Rule of Thumb: An image you pulled off a web site will be 72-96 dpi by default. If you’re making a collage for print at 300 dpi, that image may be tiny when you paste into your base .psd file. Enlarging it to fit will generally NOT produce the result you want, although if you don’t mind the “crunchiness”, sometimes you can Unsharp Mask the *@#+ out of it and may get acceptable results.
I browse my scrap folders with Adobe Bridge so I can see lots of thumbnail previews at once, but there are other options for folder browsing including Preview and iPhoto or other freeware options. Just Google “image browsers mac/windows”.

As source images start to speak to you, open them in individual windows in Photoshop. You’ll be working with .jpgs for the most part—which is fine, .gifs or .pngs work as well but be conscious of the resolution of your source files.
Rule of thumb: Beware of copyright restrictions for anything you might use off the web. Even vintage materials are subject to copyright if they’re part of a collection. Check your sources for permissions. You’re generally safe using older/vintage material in the public domain as long it’s not for a profit-making enterprise but copyright law is not an exact science. Archive sites like www.retronaut.com, www.timetales.com, bitlounge.com and westfordcomp.com are wonderful one-stop sources of collage material but often hold copyright on their material and may limit use to non-commercial purposes only.
Always scan hard copy scrap at the same resolution (or higher but not lower) as your base .psd.
Step 3: Get organized, but not too organized
This step is about setting up your file so you can start playing with your layers.
In Photoshop (and Illustrator and InDesign for that matter) there is a thing called “good layer hygiene”. It means that whenever you work with a layered document, proper naming of those layers is a best practice from the beginning because as you’ll learn, layers tend to multiply like bunny rabbits. Collage is such an organic, make-it-up-as-you-go art form, to save yourself a ton of grief, label those layers!
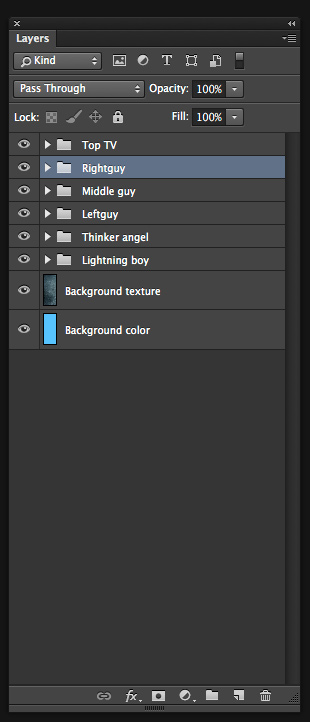
That said, don’t get too hung up on the fussy workflow advice. Spontaneity is key, so as a compromise, I usually stop after I’ve created five or six new layers and do some housecleaning i.e. delete any inactive layers I’m sure I won’t be using, name any unnamed layers, put logical layers into folders. If you tidy as you go, you’ll also reduce bandwidth drag by getting rid of unnecessary layers.
In a collage, you’ll be building something of a pyramid structure, with the base layer and background files occupying the entire real estate of the piece and a much of edited and/or masked images or fragments of images stacked on top.
I usually add a background texture at this point but most often end up changing it once my artwork is in place. The layer right above your background layer should be the Background Texture.
There are multiple sources online for obtaining digital background textures including my personal fave Creative Market. They have plenty of freebies as well as affordable collections. I also keep an eye out in the real world for interesting walls, pavement patches, sides of buildings, graffiti and random and interesting paint textures.
Step 4: Cutting and pasting
This is where a bit of expertise in using PS selection tools can be useful. Pick one of your open source files and either select the area you want to use with the lasso tool or Select All and copy the entire file. If I’m using the lasso tool I generally don’t try to be too precious with the selection at this point—instead I’ll draw my selection 10 pixels or so wider than what I really want. I’d generally rather do the final edge cleanup on the placed layer.
Go to your base file and paste the selection. You’ll note a new layer has just been created. Name that layer and proceed repeat the process of copying and pasting source material into your base file, creating more layers as you go. Give each layer a name.
Step 5: Layer Masking
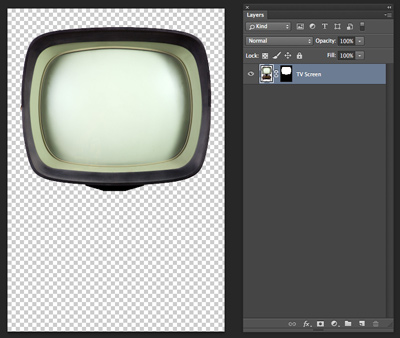
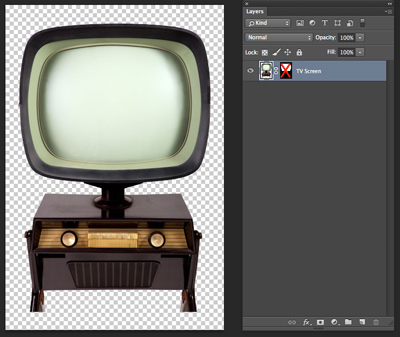
Layer masks are almost mandatory with this kind of iterative process. Snapshots and Adjustment Layers also come in handy but in the interest of simplicity and my short attention span, I use masks on almost every layer. If you’re not familiar with masks in PS, they allow you to edit the content of a layer without committing to the edit. Simply select what you want to keep with the lasso tool or magic wand and click the mask icon at the bottom of the layers panel. When the layer icon is elected, you can subtract pixels with any brush tool given a black foreground color, or with a white brush to add back the original image. This is an intermediate level tutorial so I won’t go into much more detail about masks—trust me though, they’ll make your life a lot easier when creating a collage.
Step 6: Blending Modes: the way layers interact
Blending modes can make or break the look and feel of a piece. They are not an exact science and for me is a matter of feel rather than trying to predict what a layers will look like with a particular mode applied. I do a lot of reversing (Command-I) and using Screen mode on BW line art to eliminate backgrounds and pop out of dark backgrounds, and Color Burn with photographs is a favorite as well, but overall I recommend trial and error. You’ll know when it looks right.
Step 7: Image adjustments
In order to get layers to play nicely, adjust them individually for levels, opacity, contrast, hue and saturation, etc. I usually do this toward the end when composition has been more or less decided. This is all part of the fine tuning process along with zooming in to be able to clean up unmasked pieces of layers with the brush tools.
Step 8: A word about composition
Design schools teach that every work of art succeeds or fails based on composition. Even fine execution takes a back seat to the creative placement of elements. Some rules apply here but as your collage takes form, reduce the window size so you can evaluate the piece from a distance. Or better yet use an old photographer’s trick and look at it upside down (or just ask an old photographer). Your collage should make compositional “sense’. Think “rule of thirds”, eye tracking, point of entry, hotspots, border integrity, it all matters and separates the clip art projects from the fine art.
I often move elements around in groups (which is why creating layer groups is important) in order to solve compositional problems. It’s one of the benefits of working in Photoshop as opposed to scissors and paste.
Step 9: Working with text
A lot of my pieces contain some form of text, either drawn or placed as images. I rarely use fonts but that’s a subjective choice. Text can help illuminate or enhance the theme of a piece, which may not always be obvious to the viewer. I personally don’t mind if a viewer has to work a bit at deciphering the symbology of a piece, just as I don’t mind it when viewing other artists’ work. Collage is by nature symbolic and multiple interpretations are inevitable. In fact it’s one reason why I love the medium so much. Bits of text can be signposts, however, providing literal or poetic clues for the viewer. That said, I often find deciding how to use text to be the biggest challenge.
Step 10: Knowing when to stop noodling
Sometimes the process of collage making can be so engaging it’s hard to stop. Like editing my own writing, I have a tendency to start out overly complicated and simplify, simplify.
The best collages may be comprised of hundreds of individual images but still look cohesive and “legible”. Restraint can be applied not just to the judicious use of imagery but to your color palette as well. You’ll note in the “Autodidact” piece, there are really only two colors. Economy in one aspect of the work can balance excess in another.
More collagiality
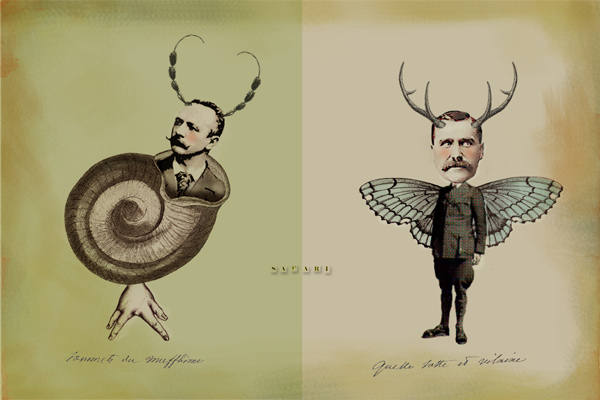
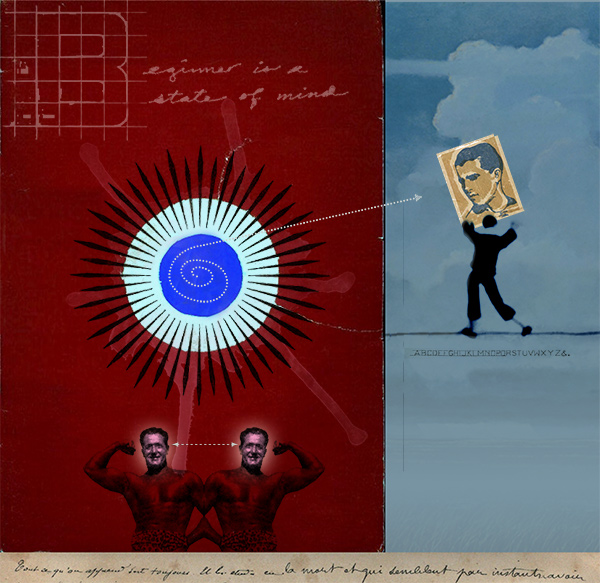
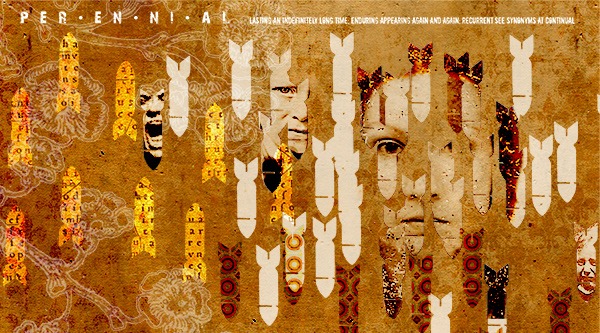
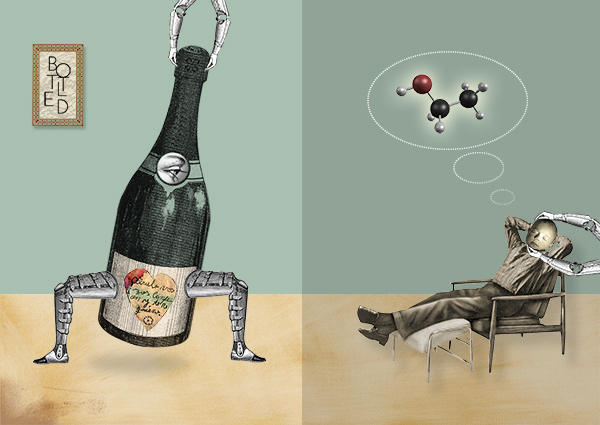
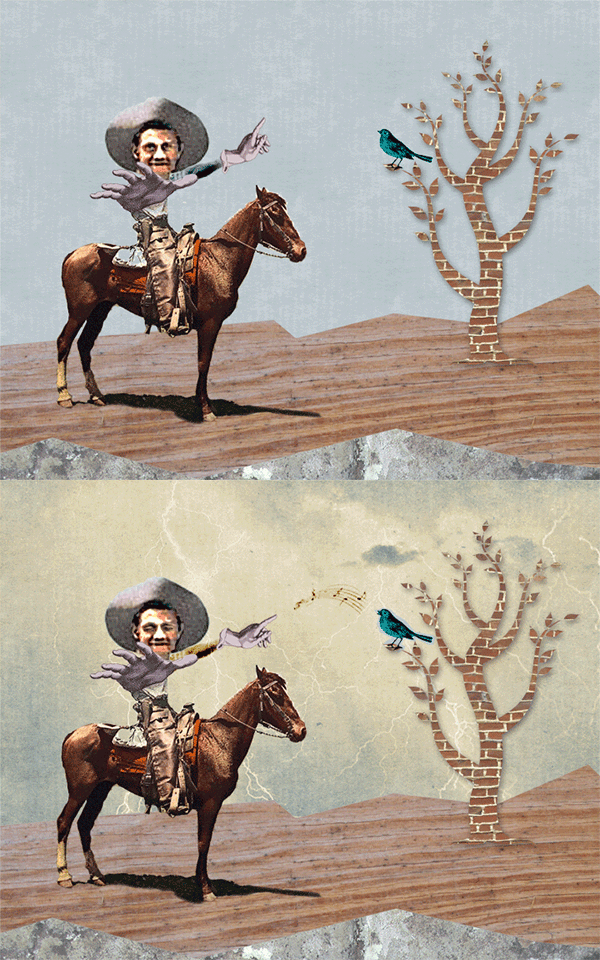
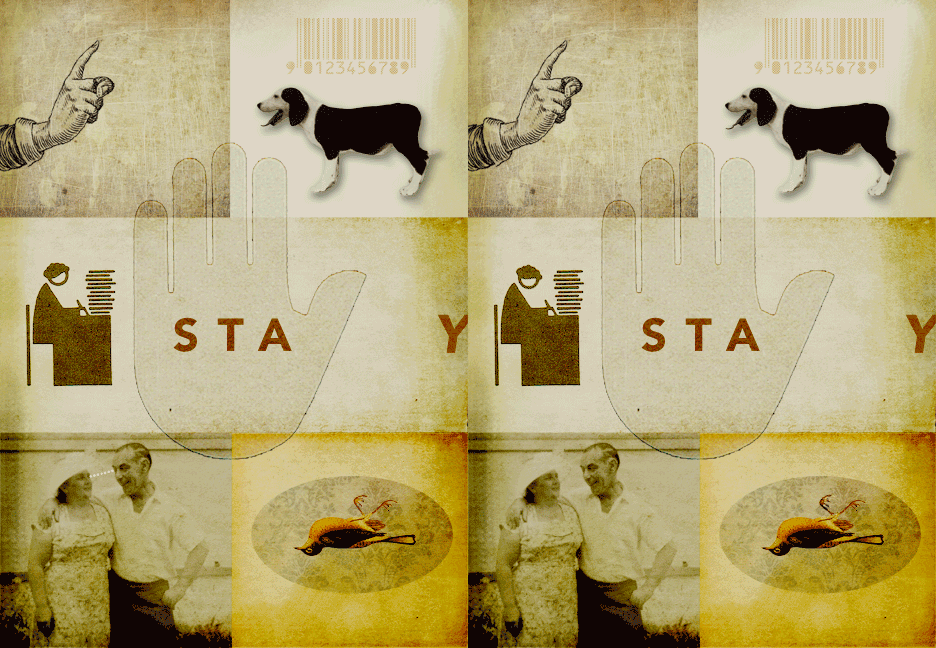
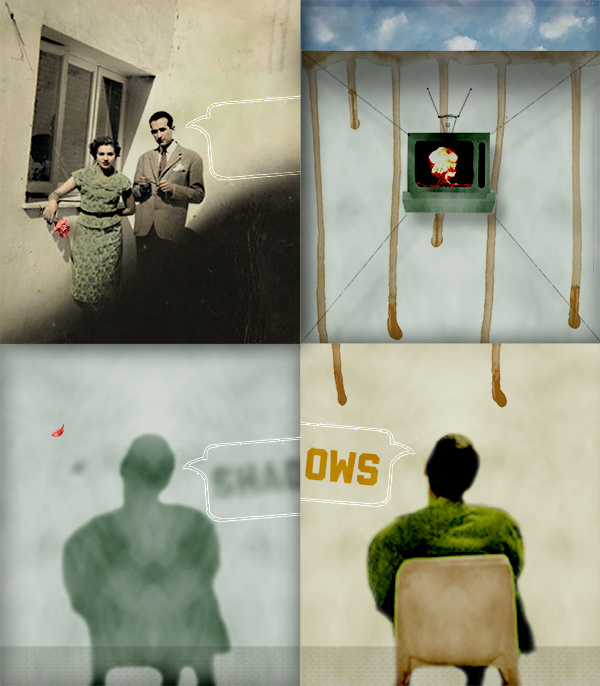
These are pieces created using the processes above. Many were created around Illustration Friday weekly themes. Starting with a one-word topic is a great way to keep the creative muscles toned.
